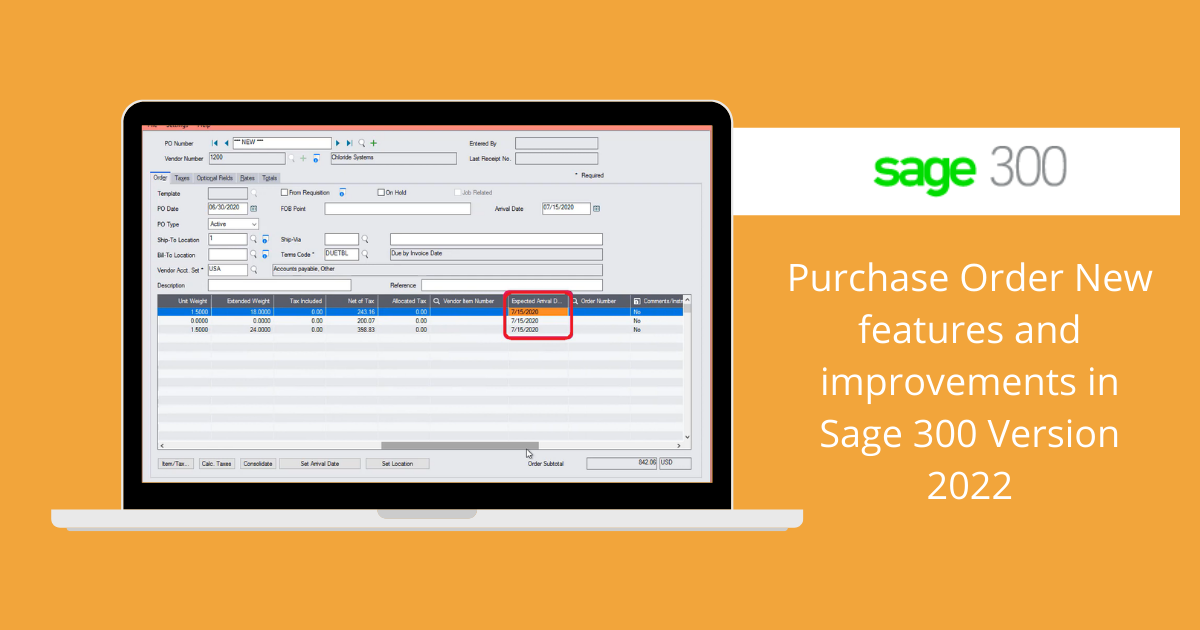
Sage 300 V2022 offers users exciting new features that guarantee increased flexibility and compatibility needed for today business. This latest version presents additional functionalities and superior user experience through sage 300 screen improvement and general enhancement. Let’s have a look at the sage 300 features and improvements. The improvements made to Purchase Order in sage 300 and we will show you how to add negative additional costs on PO credit notes and how to easily set the expected arrival date and location for all details on a Purchase Order.
Starting with the version 2022 of Sage 300
- User can enter negative additional costs on Purchase order credit notes.
- User can now also update the Arrival Date and Location or Expected Ship Date in order detail lines.
Firstly, we will see how to enter Negative additional cost on P/O credit notes. When entering a credit note on PO credit note entry screen you can now enter negative amounts for costs on the additional cost tab. For example, this could be useful to record for shipping or restocking fees you paid as a result of returning an item. Such negative additional cost is recorded as debits when you run day end processing.
Now you also have a convenient option to set Expect Arrival Date and Location for all details. On purchase order two new buttons are available in the order tab of the PO purchase order screen.
Set Arrival date to set the expected arrival date for all details on a Purchase Order to be the same as the arrival date for the purchase order.
Set Location to set the location for all details in a purchase order to be the same as the ship to location for the purchase order.
Let’s, see how to use this feature in Purchase orders beginning with Negative additional costs on PO credit notes.
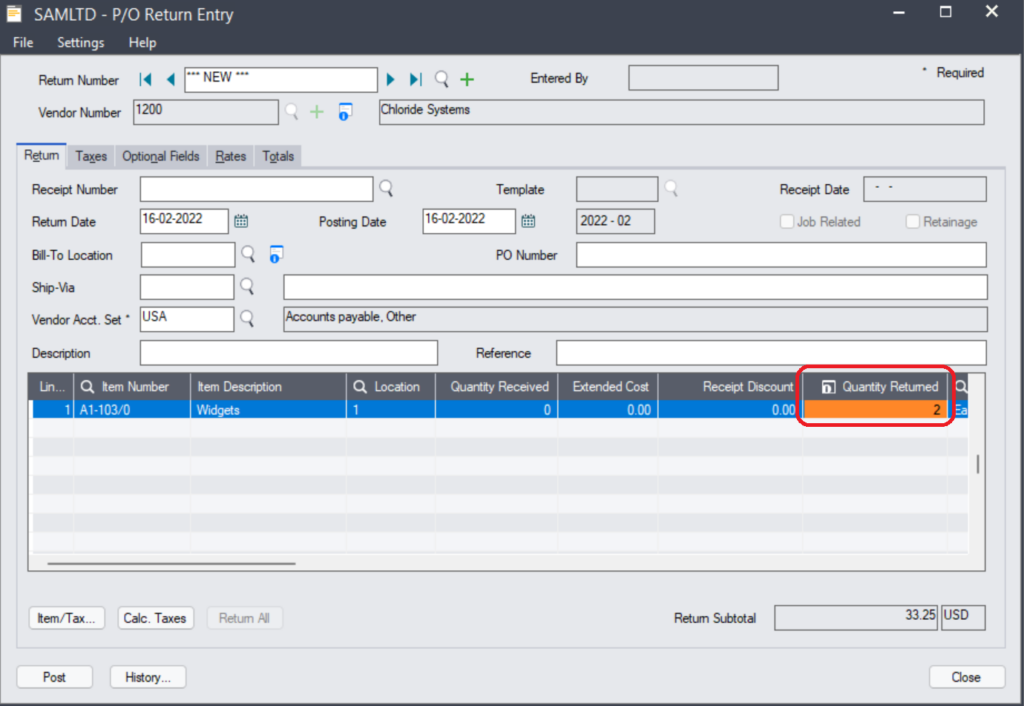
We consider the following example the company has order, received and been invoiced for 10 widgets purchased at 100 rupees each after receiving the items the company returns 2 widgets the vendor applies a restocking fee of 20 rupees in our case the receipt entry has already been recorded. We then use the P/O return entry screen to return the two items select the vendor as well as the receipt number. In our example we enter a quantity returned of two then we post the return.
Below is the image you can see that we have returned two widgets.
Now we will select the P/O Credit/Debit notes entry screen to record the credit note. We enter the credit note number then we select the return that we previously recorded the vendor number appears automatically as well as additional information.
Now we will use the additional costs tab to enter additional costs we select our restocking additional cost if you enter a positive amount it will increase the amount of the credit note. However, in our case the restocking fee charged by our vendor should decrease the amount of the credit note we therefore enter a negative amount for restocking fee. Note that prior to sage 300 V2022 it was not possible to enter negative amount here and the restocking fee would have needed to be recorded as a separate entry. Select the total tab to confirm the total and then we can post the credit note.
Below is the image you can see that we can now add Negative amounts in PO credit note.
The credit note will be created in Accounts Payable when running the day end processing.
To run the day end processing follow the below steps to navigate for Day end processing.
Inventory control–> IC periodic processing–> Day end processing.
Now, let’s have a look at two new options that are available when creating a Purchase Order. Under Purchase order select PO transaction and then Purchase order entry screen.
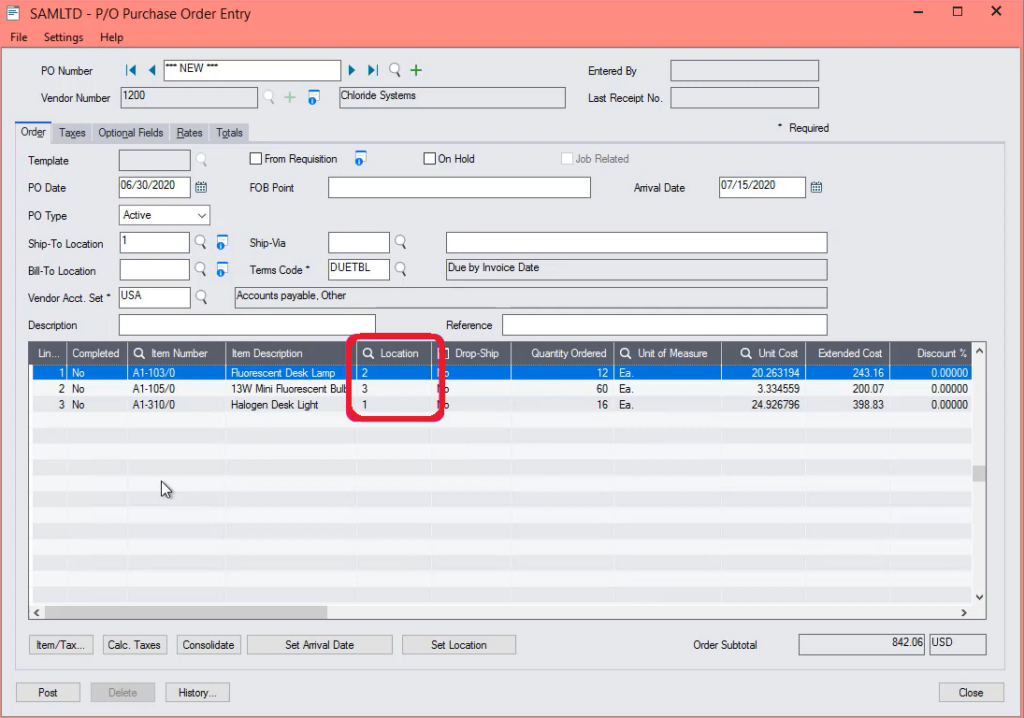
Let’s begin by entering the purchase order details. Notice that the location is not same for every item. Below is the image for your reference.
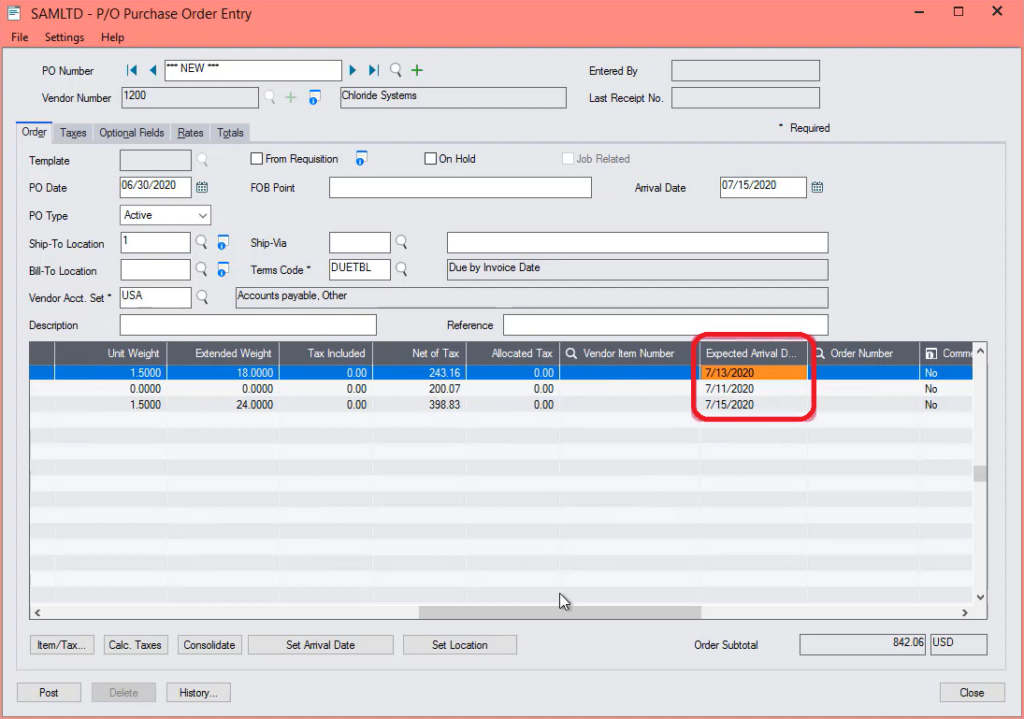
If we scroll through the right side we can also see the expected arrival date is not same for all the items. Below is the image for your reference.
If you would like to use the same Location or the same Arrival date for each item on the Purchase order you may now use two buttons. Below is the image for your reference.
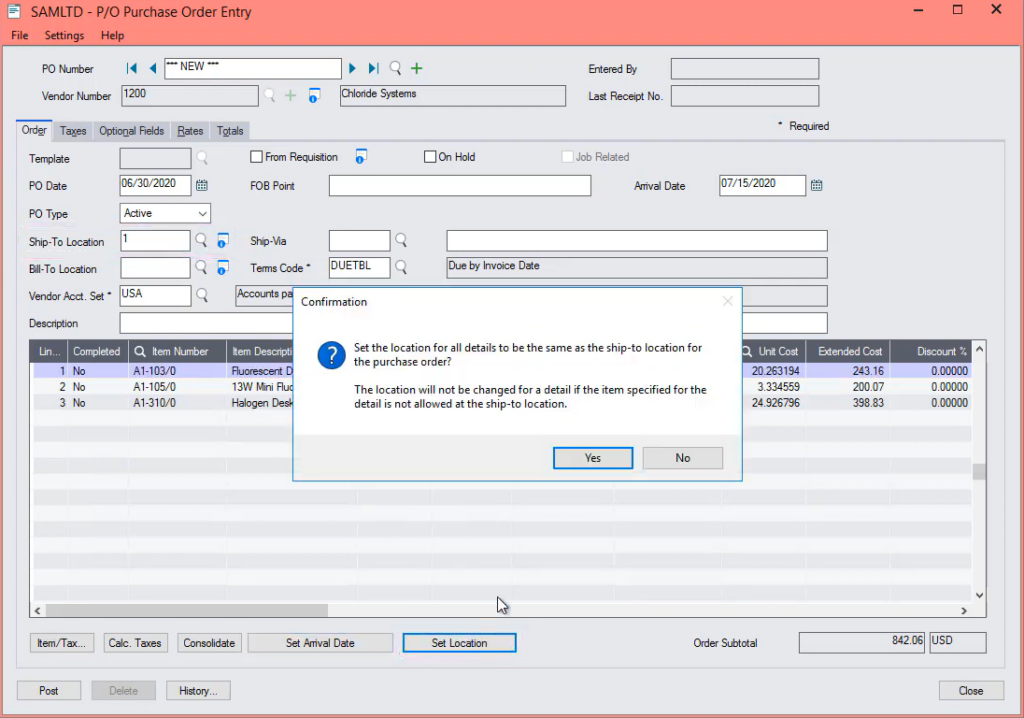
If you use the Set Location button the ship to location selected for the purchase order will be assigned to all the items lets, click this button then click yes. Below is the image for your reference.
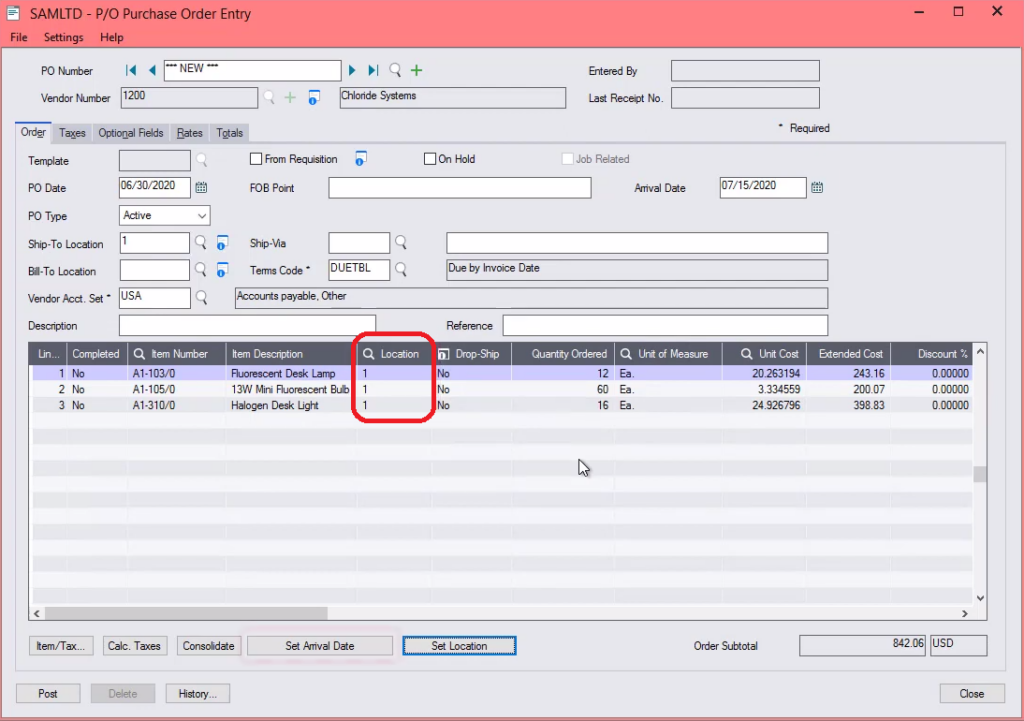
We can see the Set Location has been assigned to all the items in the Purchase order then, after we will post this purchase order. Below is the image for your reference.
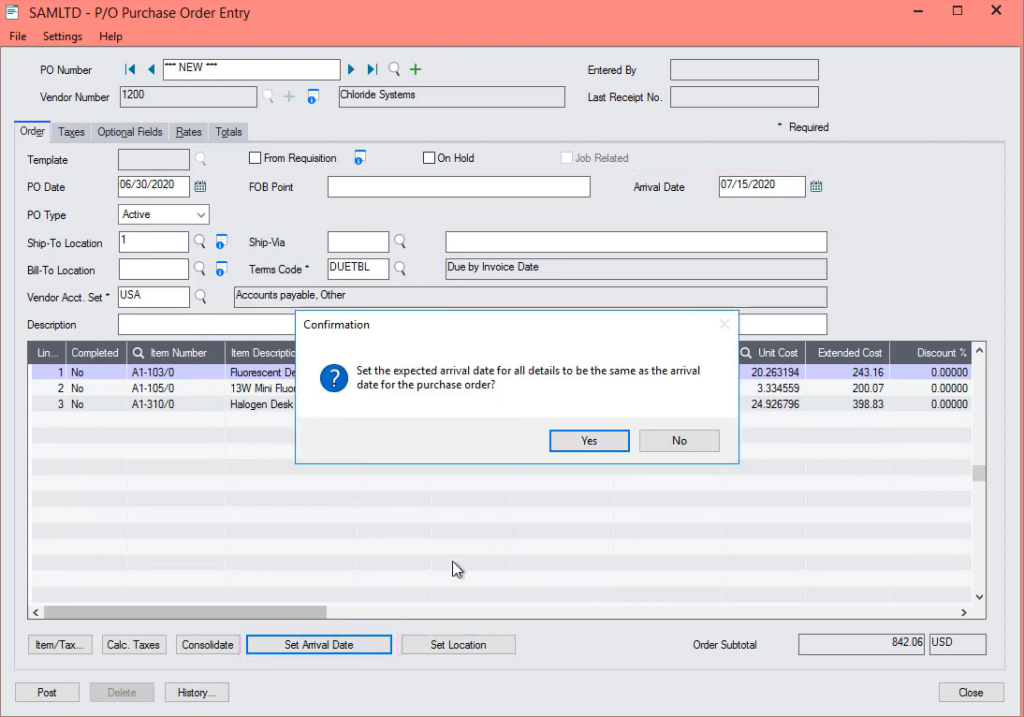
If you use the Set Arrival date button the arrival date selected for the purchase order will be assigned to all the items lets, click this button then click the yes. Below is the image for your reference.
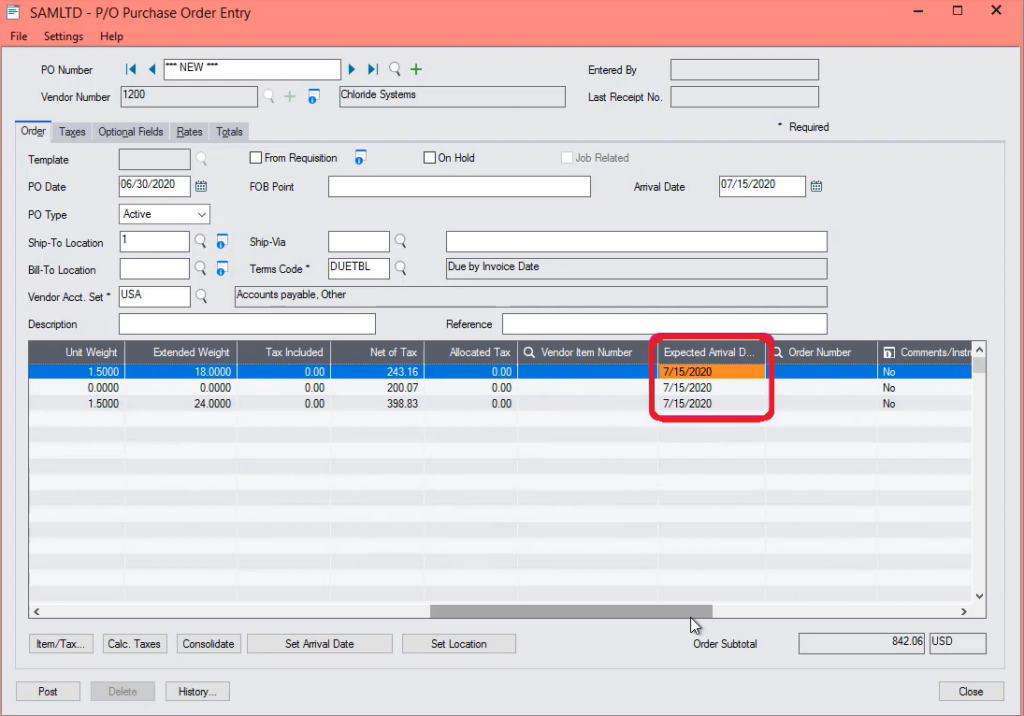
If we scroll to the right side we can see that the arrival date has been assigned to all the items in the Purchase order then, after we will post this purchase order. Below is the image for your reference.
So, we have shown you how to enter Negative Additional costs on PO credit notes and how to easily set the expected Arrival date and Location for all details on a Purchase Order.
STAY UPDATED
Subscribe To Our Newsletter
At Sage Software Solutions (P) Ltd., we are home to world-class ERP software and CRM software that will solidify your business tech support fundamentals and enable you to build a customer-centric organization. You can also write to us at sales@sagesoftware.co.in.
Disclaimer: All the information, views, and opinions expressed in this blog are those of the authors and their respective web sources and in no way reflect the principles, views, or objectives of Sage Software Solutions (P) Ltd.
