With the release of sage 300 2022 version, there are many features introduced to an existing functionality. Out of which one is Mass update feature, which is much reliable and can be a real time saver feature.
Let’s find out how?
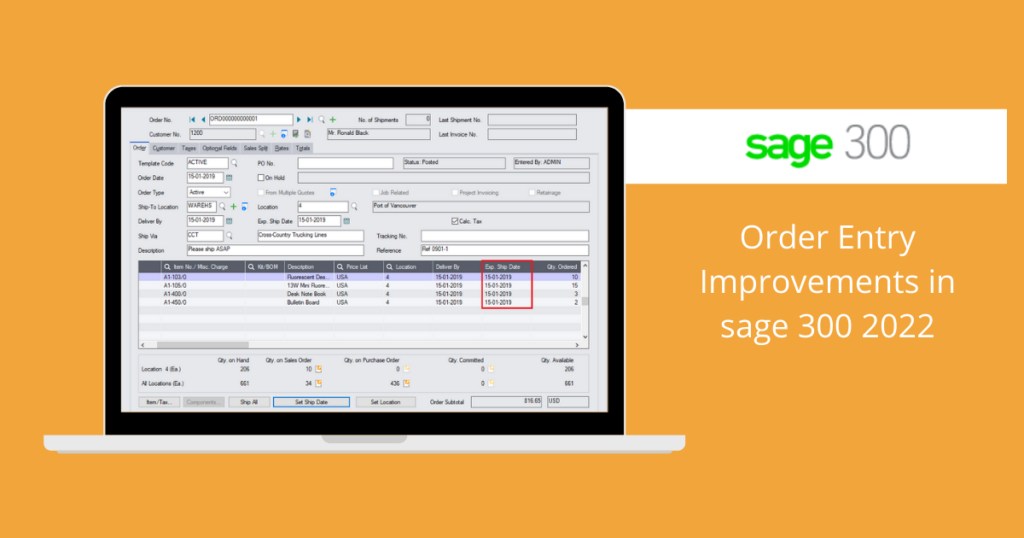
In sage 300 2022, two new buttons are made available in Order entry screen, i.e. Set Ship Date & Set Location.
Using Order Entry screen, we can now update location and expected ship date in bulk for multiple items in Order detail lines.
For ex. Suppose you are creating an Order entry in sage 300 which has multiple detail level lines for multiple items then for each of these lines you have to set location and expected ship date by manually selecting each detail line, which makes it quite lengthy process.
But with this new mass update feature in Order Entry, we can assign expected ship date and location for all the details on an order same as expected ship date and default location of an order.
- Set Location – Sets the location for all the details on order to be the same as the default location for the order.
- Set Ship Date – Sets the expected ship date for all details on order to be the same as the expected ship date for the order.
Entering Order details:
Find below steps of how to use Set Location button:
Order Entry → O/E Transactions → Click on Order Entry.
In the above image, location is set differently for one of four items (i.e. Item No. A1-400/0).
To set the same location for all the four items in detail level, click on Set Location button. Set Location button assigns the header level Location selected for the order to all the items in detail table.
After clicking “Set Location” button, a confirmation message will pop-up on screen to confirm that you want to set same location to all items in detail table.
Click on Yes button and this will update location for all details. Refer below image.
Similarly, we can use Set Ship Date button, to set expected ship date for all details on order to be the same as the expected ship date for the order.
Find below steps of how to use Set Ship Date button:
Order Entry → O/E Transactions → Click on Order Entry.
In the above image, Exp. Ship Date is set differently for one of four items (i.e. Item No. A1-400/0).
To set the same Exp. Ship Date for all the four items in detail level, click on Set Ship Date button. Set Ship Date button assigns the header level Exp. Ship Date selected for the order to all the items in detail table.
After clicking “Set Ship Date” button, a confirmation message will pop-up on screen to confirm that you want to set same expected ship date to all items in detail table.
Click on Yes button and this will update location for all details. Refer below image.
STAY UPDATED
Subscribe To Our Newsletter
At Sage Software Solutions (P) Ltd., we are home to world-class ERP software and CRM software that will solidify your business tech support fundamentals and enable you to build a customer-centric organization. You can also write to us at sales@sagesoftware.co.in.
Disclaimer: All the information, views, and opinions expressed in this blog are those of the authors and their respective web sources and in no way reflect the principles, views, or objectives of Sage Software Solutions (P) Ltd.


