Steps of Automated Clearing House Setup for Payment Processing in Sage X3
Payment Method
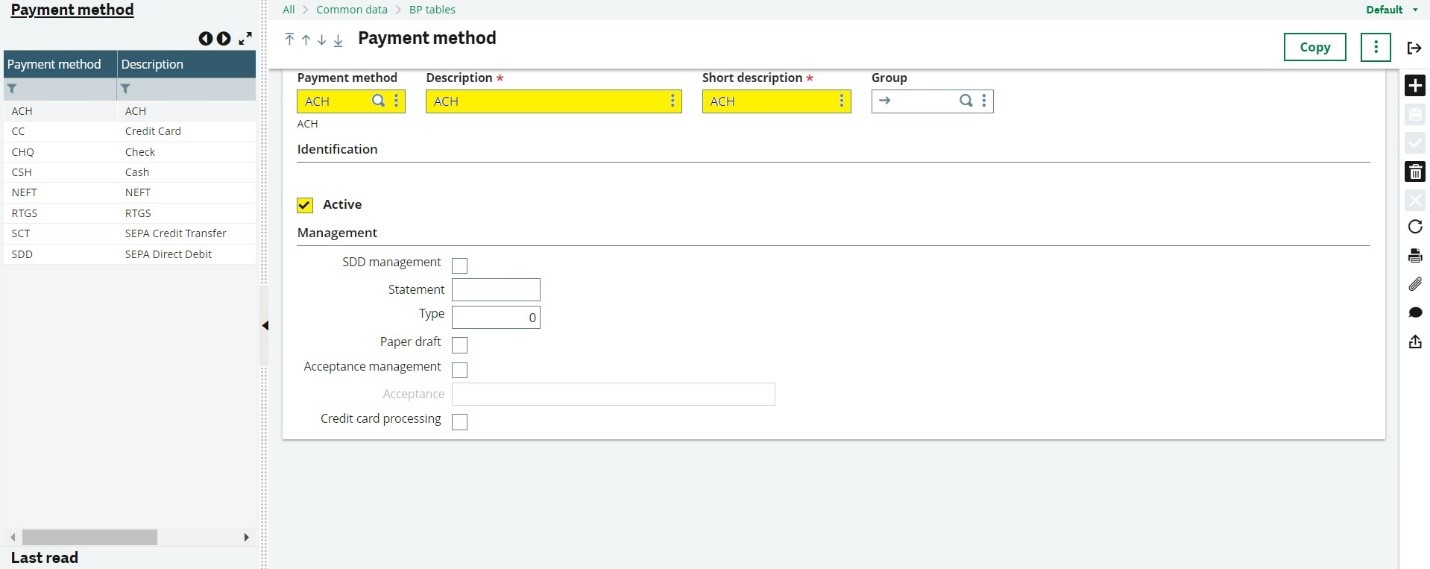
- Common Data à Payment Methods
- Create a New Payment Method as “ACH” and this method is required for running the Payment Proposal in Sage X3.
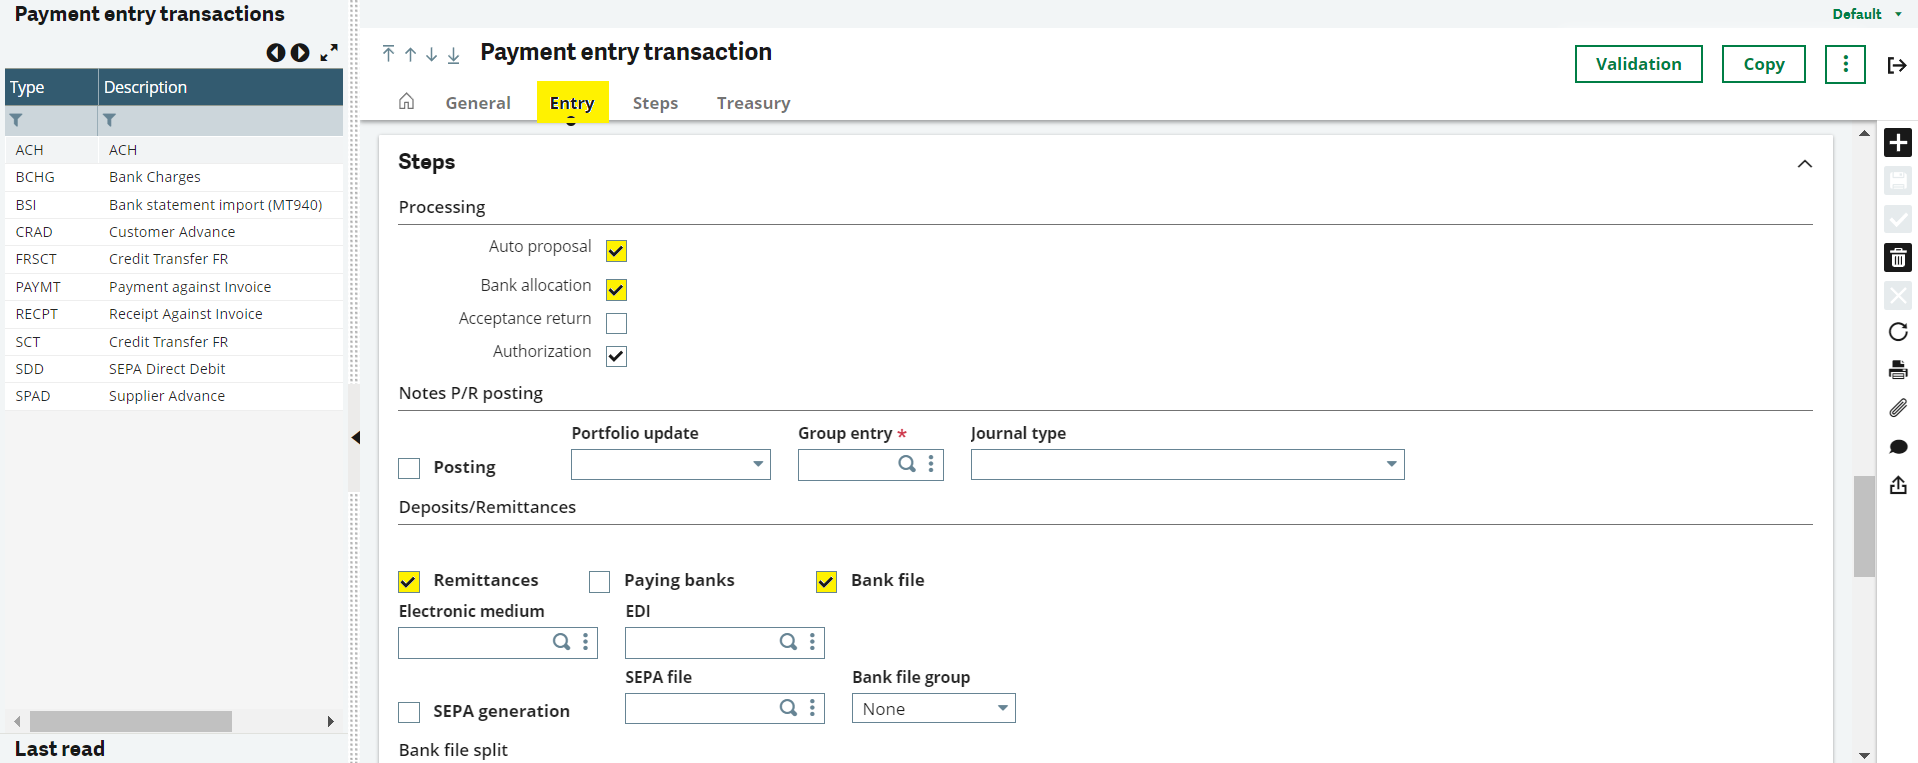
Payment Entry Transaction
- Setup à AP/AR Accounting à Payment Entry Transaction
- Create the New Payment entry transaction type as “ACH” this way we can keep ACH processing completely separate from other vendor payment types.
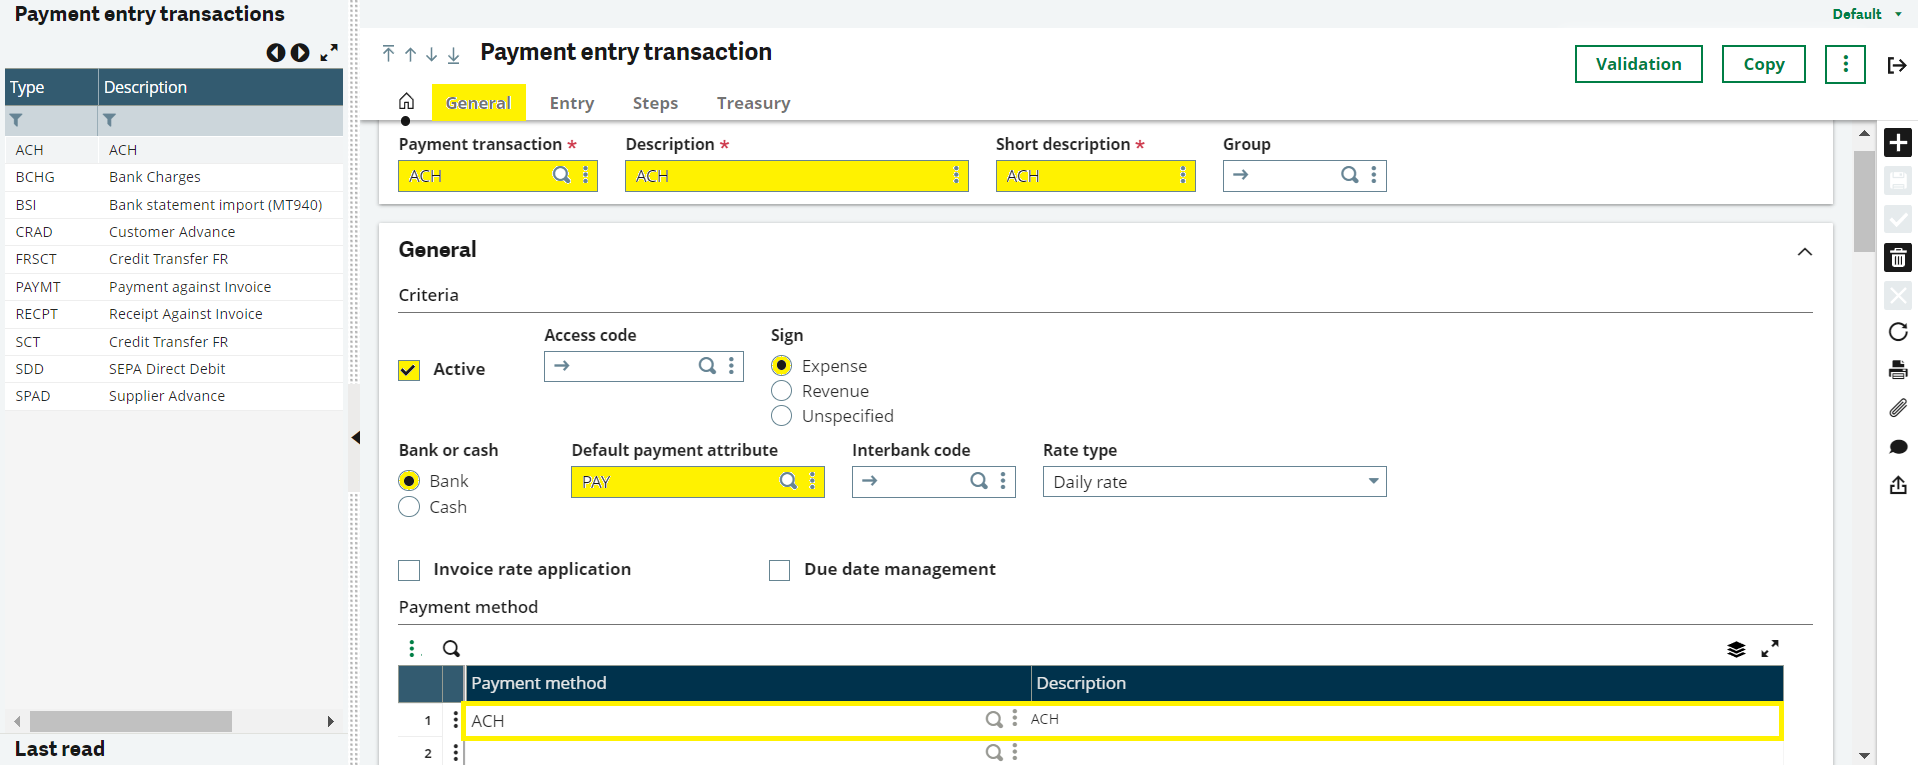
- Create the Payment entry transaction type “ACH” as shown in the below screenshots and perform the validation.
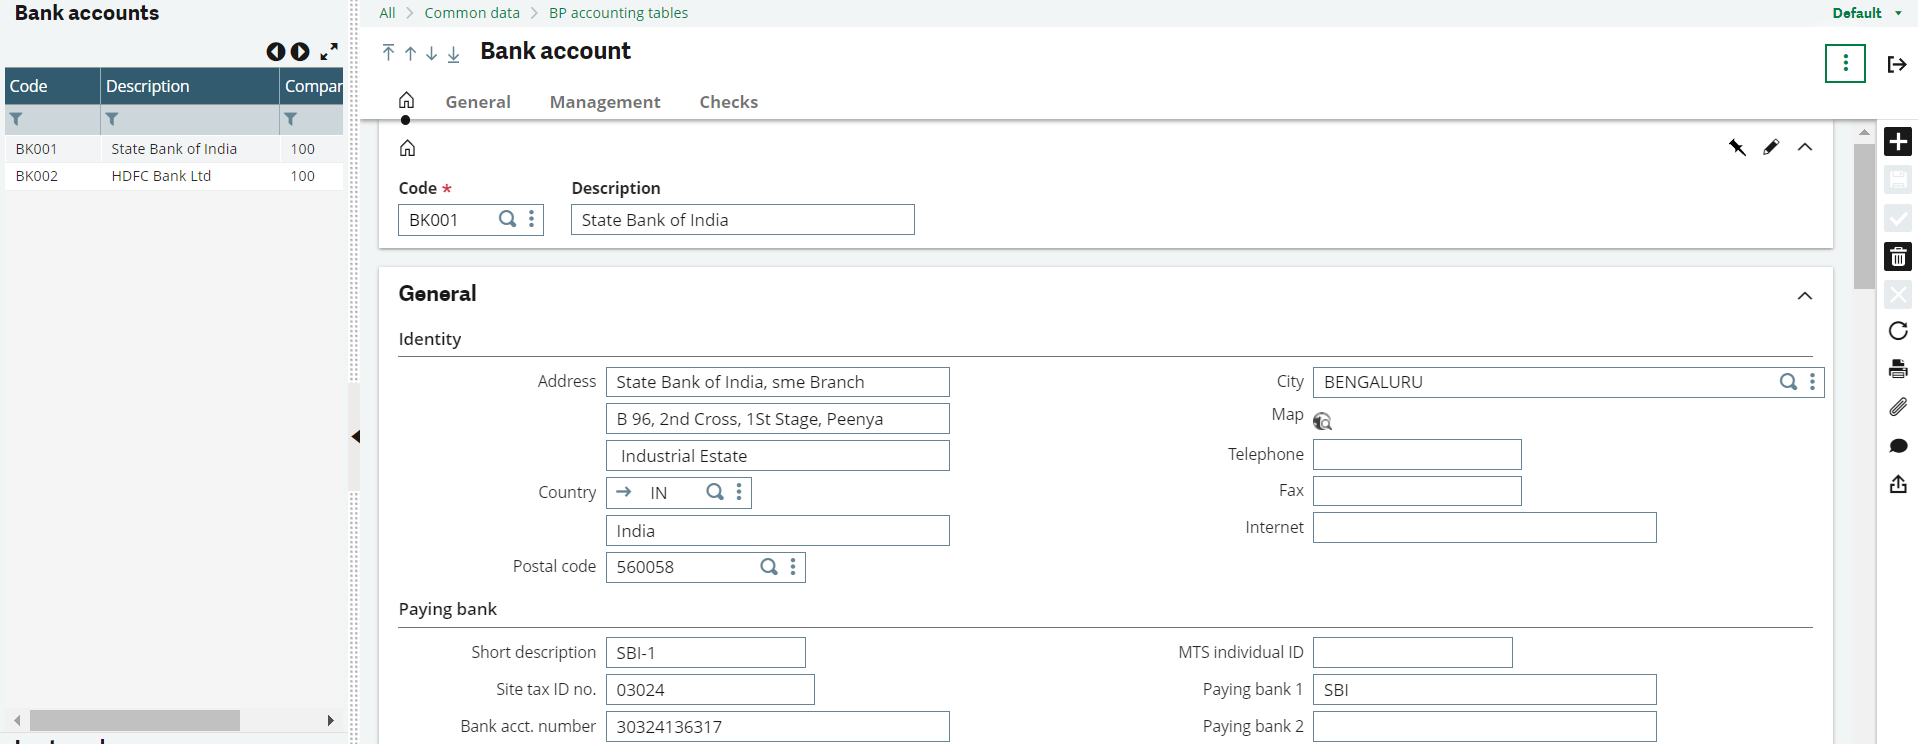
Bank Account
- Common Data à BP Accounting Tables à Bank Accounts
- An organization may make payments from different banks, so we’ll also need to update the bank setup as well to establish which of them can and cannot process ACH payments
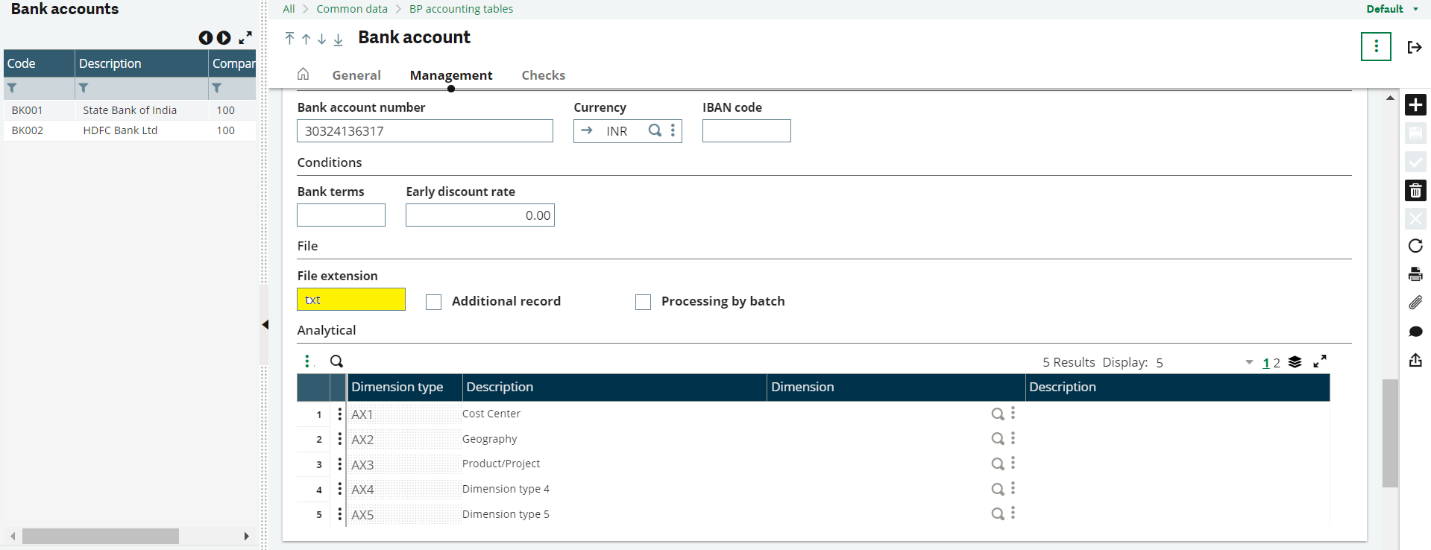
- Enter the file extension type as “txt”
Bank File Definitions
- Setup à AP/AR Accounting à Bank File Definitions
- Create a New Bank file as per your required format for each bank separately

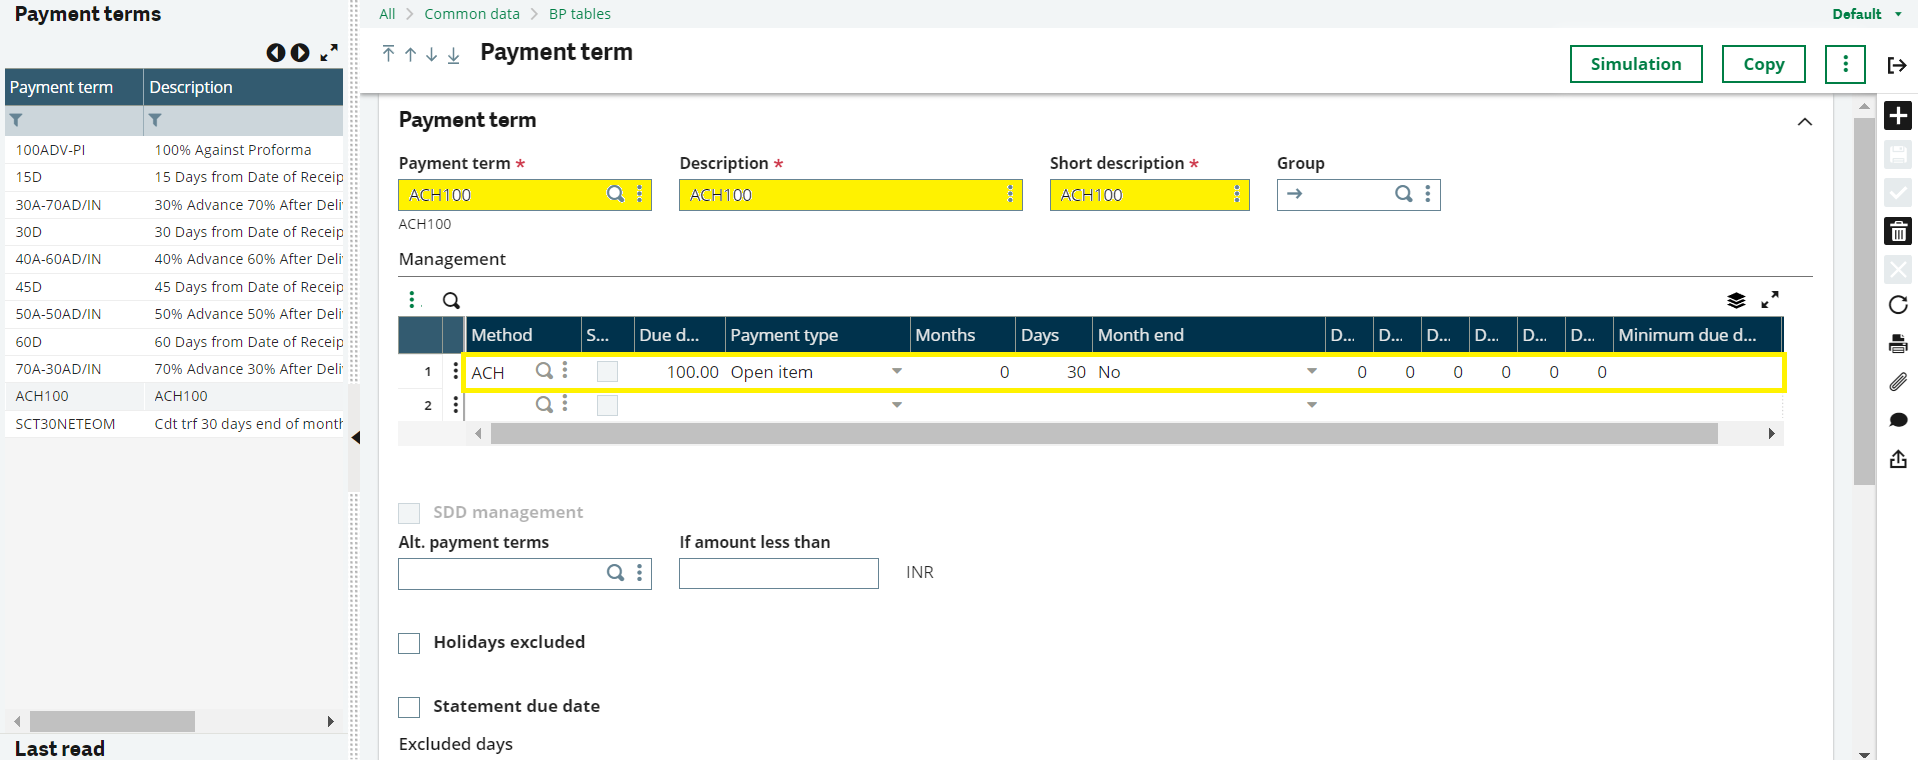
Payment Terms
- In order to establish the link between supplier and payment type a whole new ACH-related Payment Term (or set of them depending on how many payment terms are actually required)
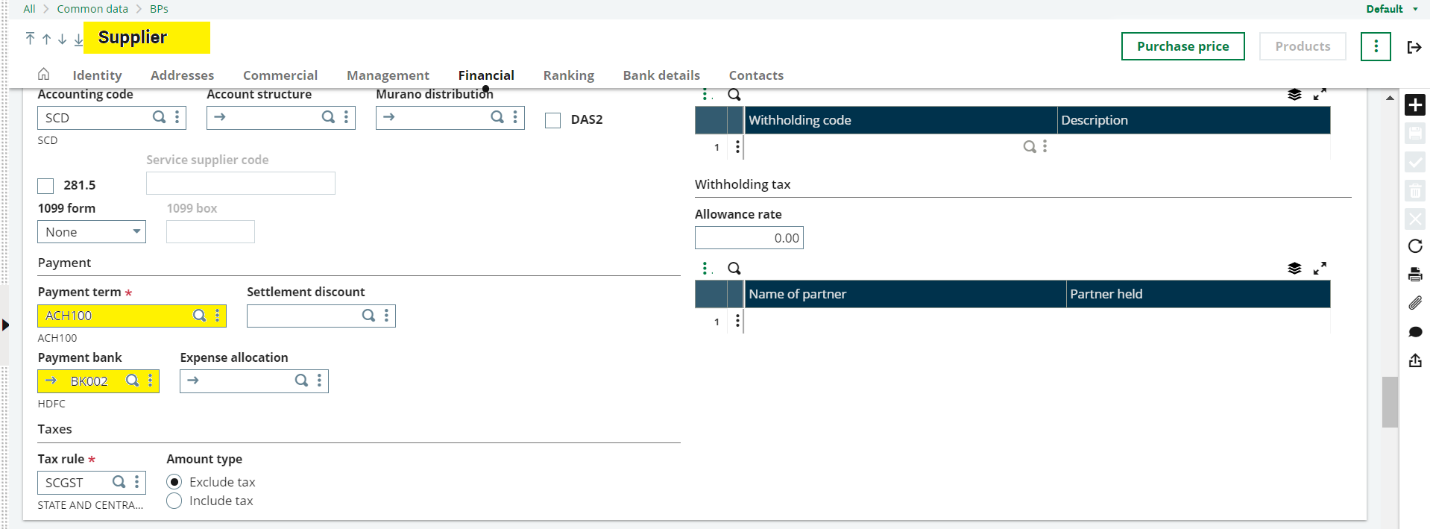
Setup Required in Supplier Master
- The Payment Term field will need to reference one that has a Payment Method of “ACH” associated with it.
At this point, the setups required for ACH processing are complete. The next set of screenshots goes through an example of processing a transaction from invoice-to-payment proposal-to-ACH file generation.
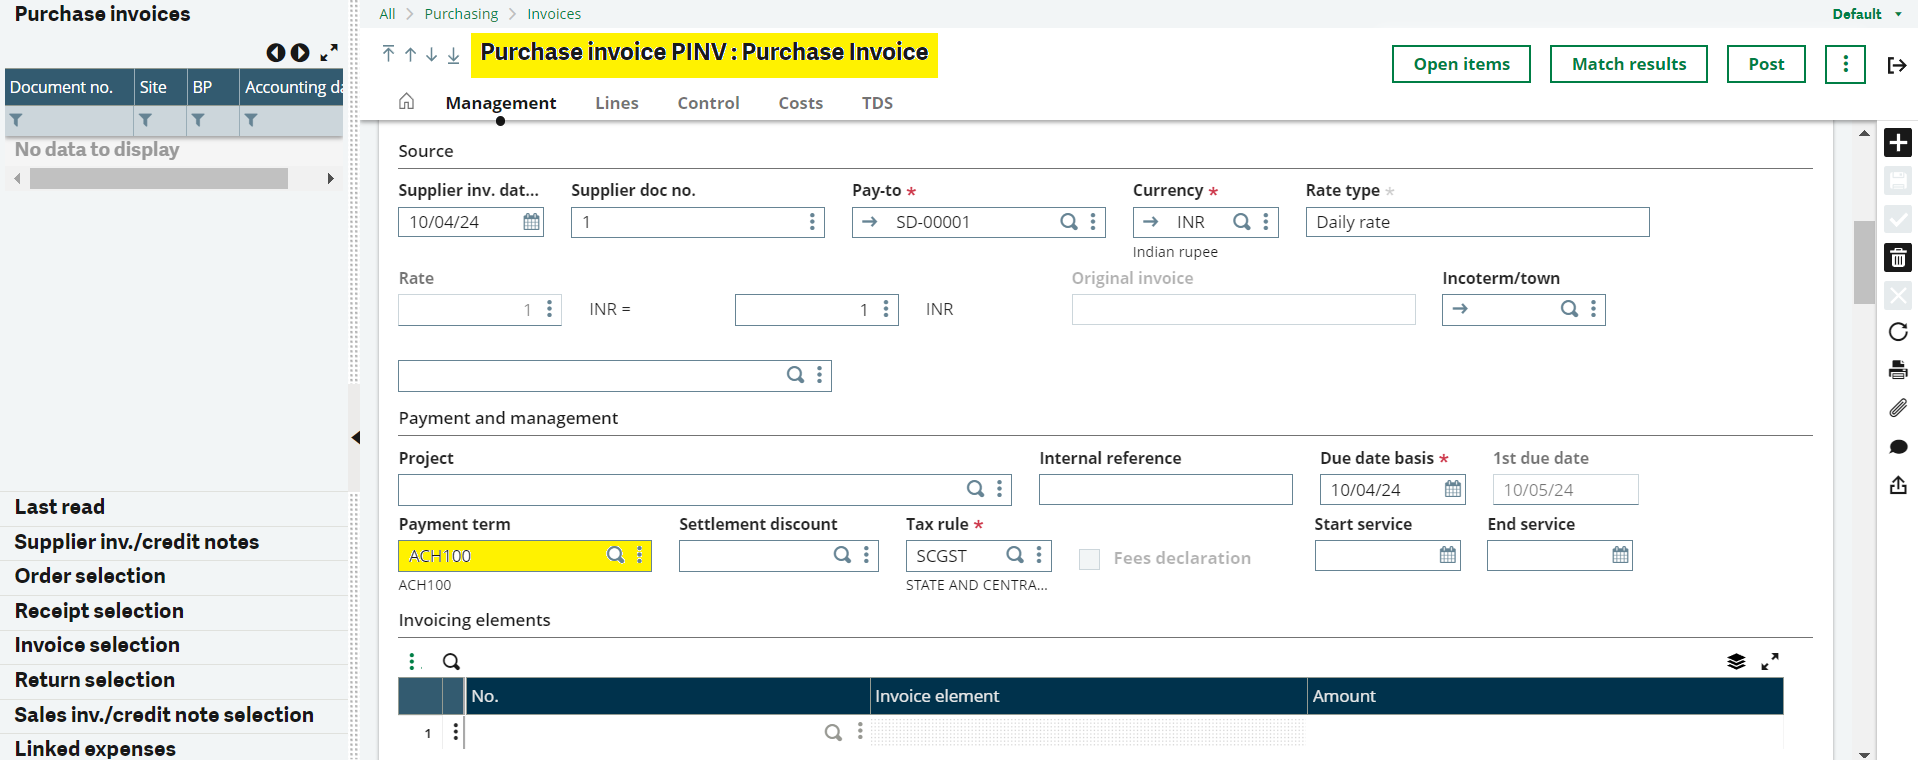
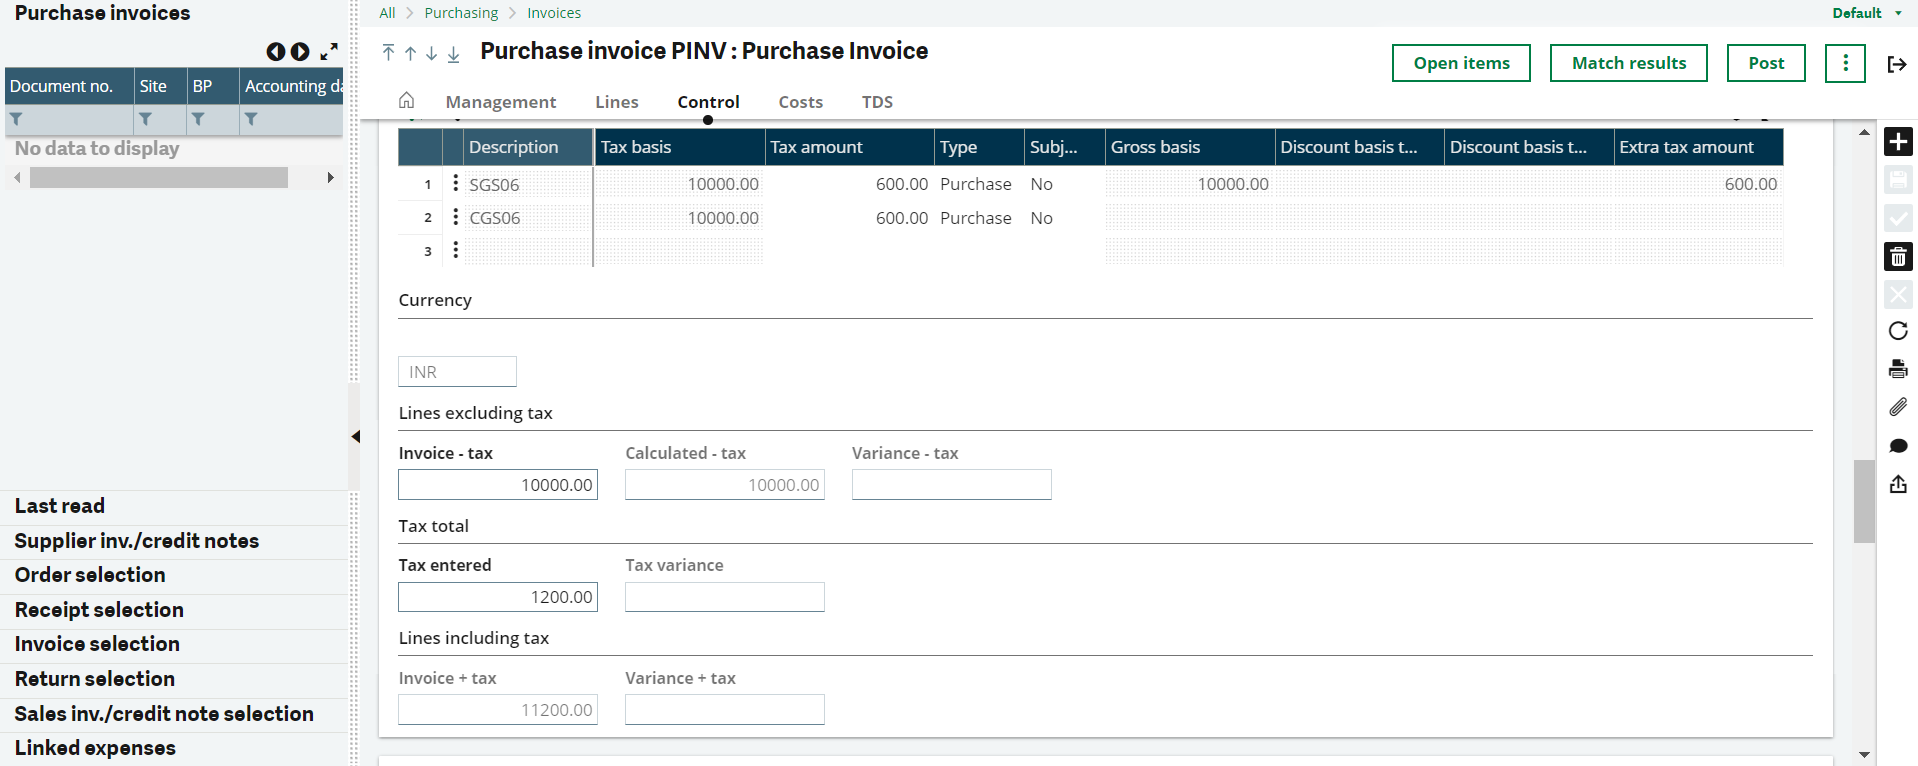
Creation of Purchase Invoice
- Create a purchase invoice for the supplier whom we have tagged the payment term as “ACH”
Payment Proposal
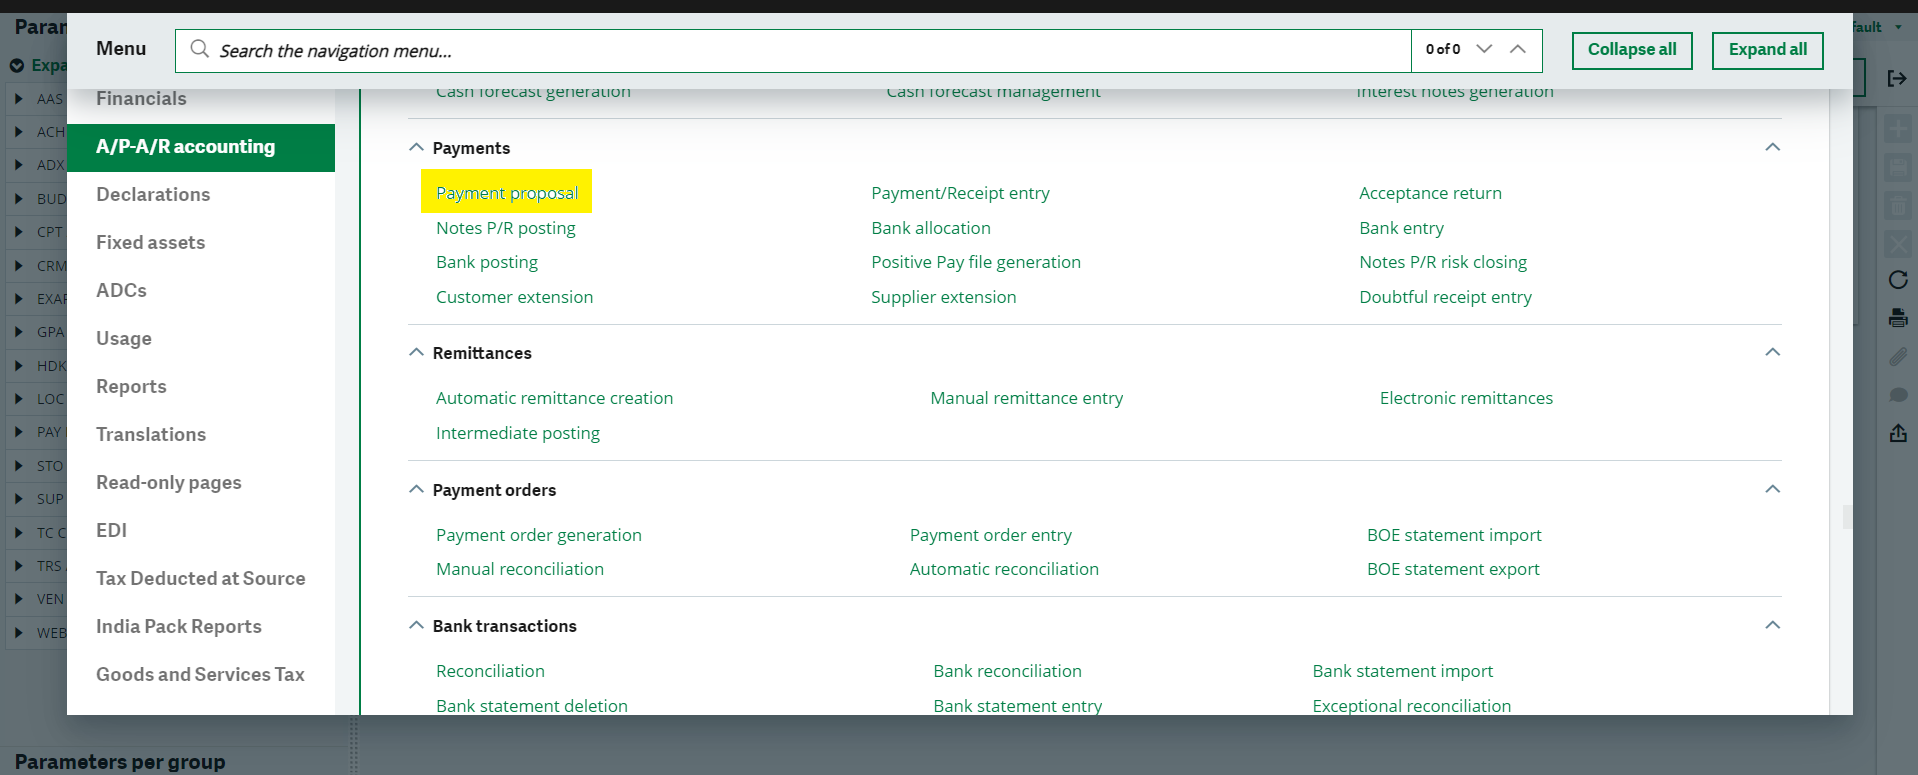
- Go to AP/AR Accounting à Payment Proposal
- Select the Payment Proposal
- The below screen will appear
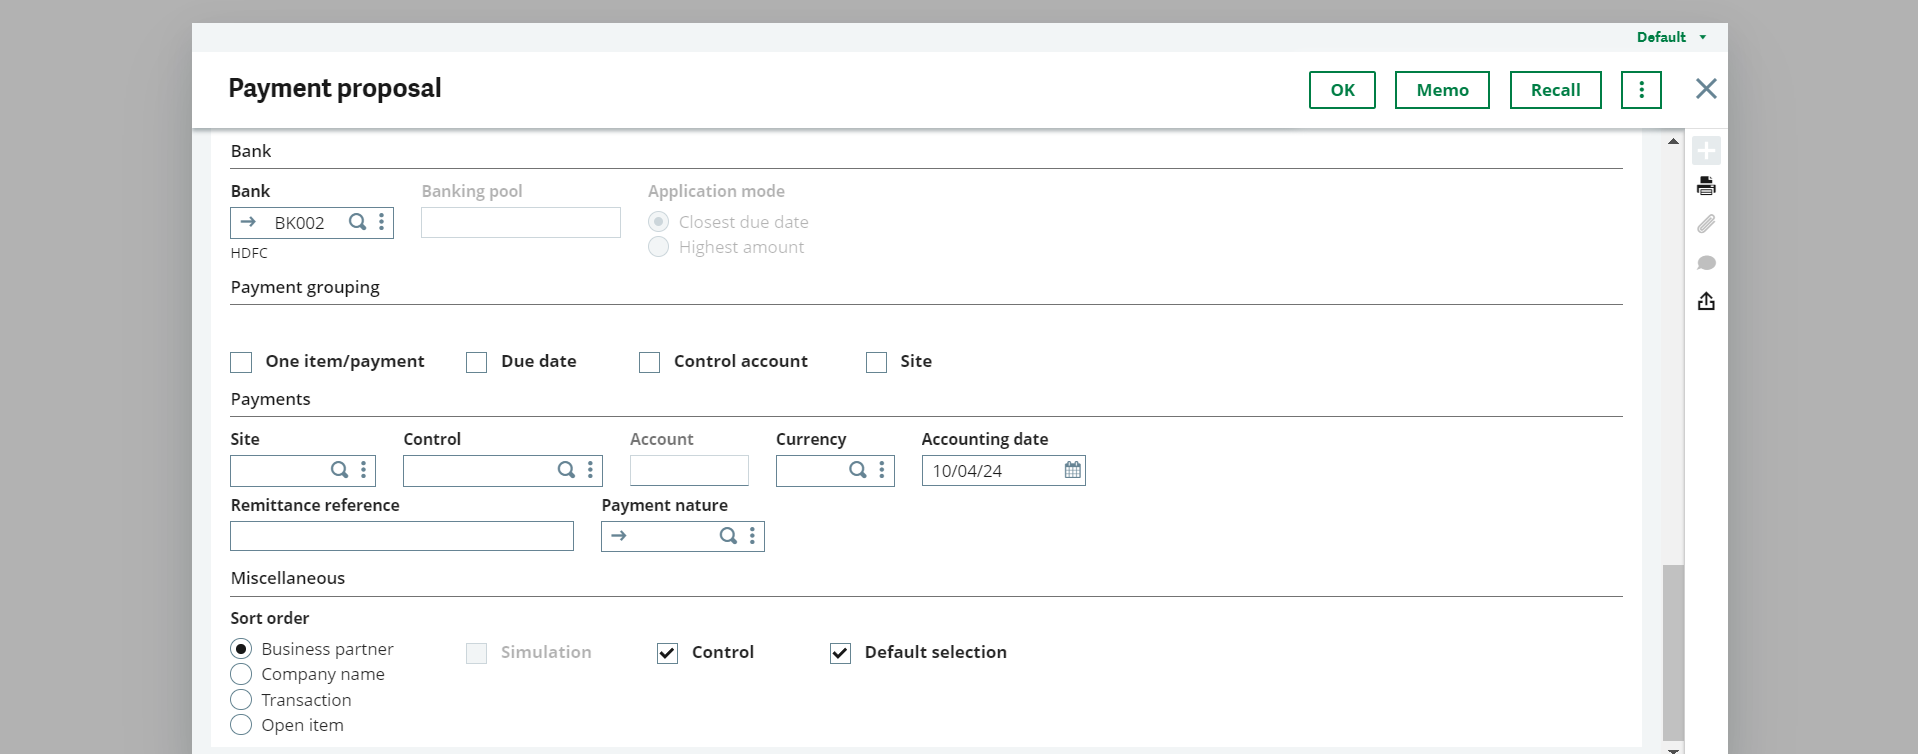
- Enter the Company and Select the required Bank
- If required, the user can also proceed with the filter criteria and filter the transactions
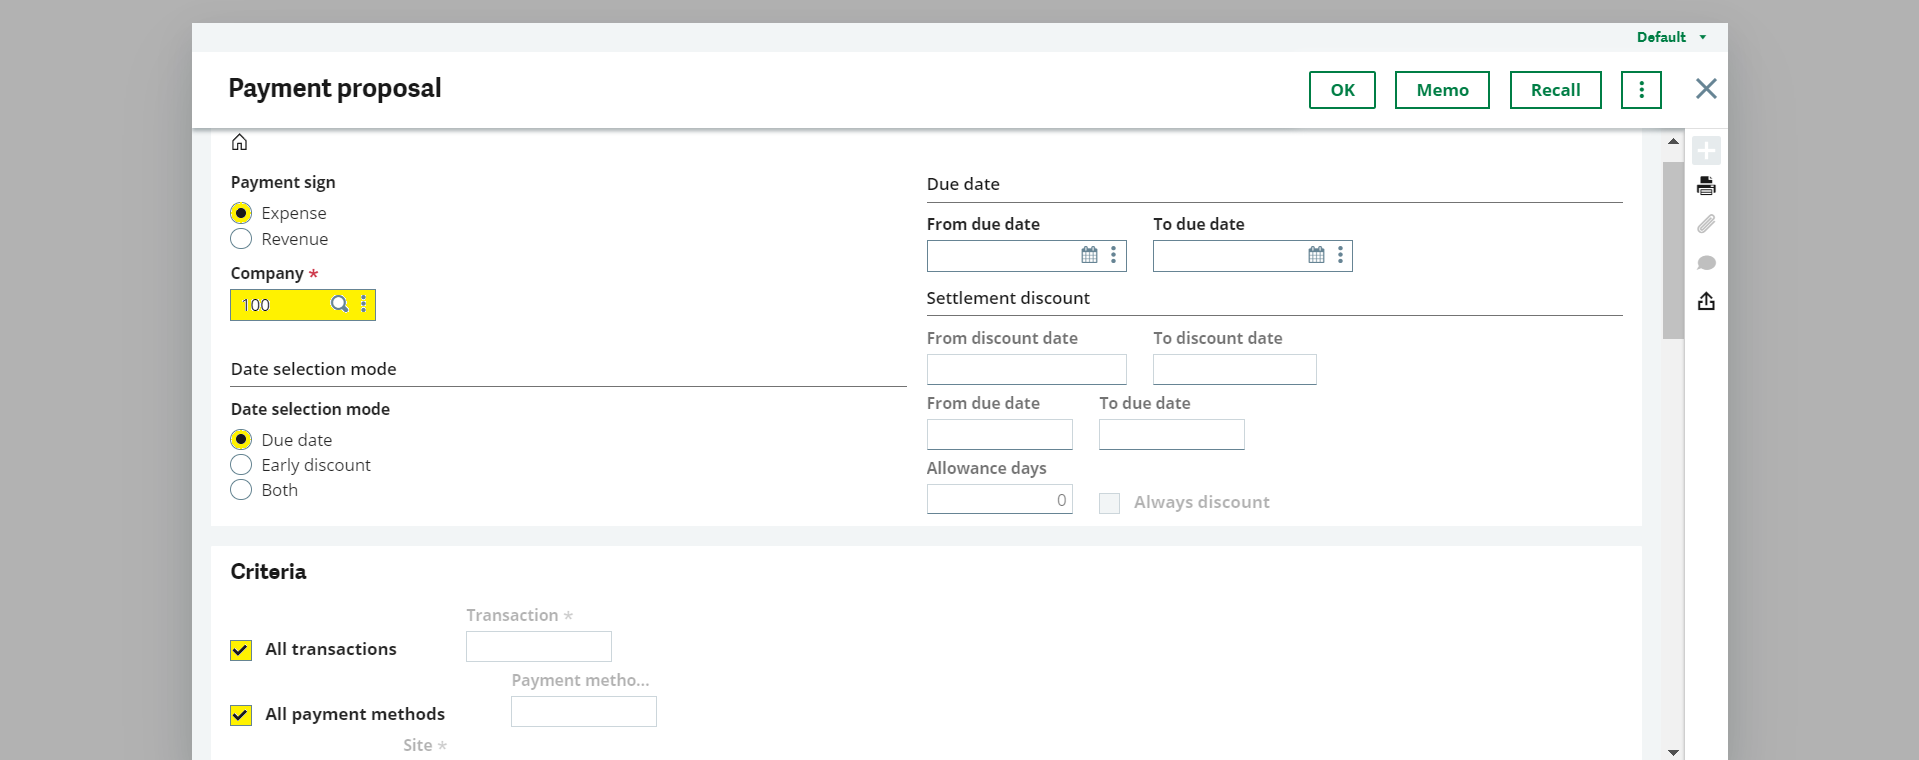
- Once after entering all the details into the payment proposal screen, kindly click on “OK”
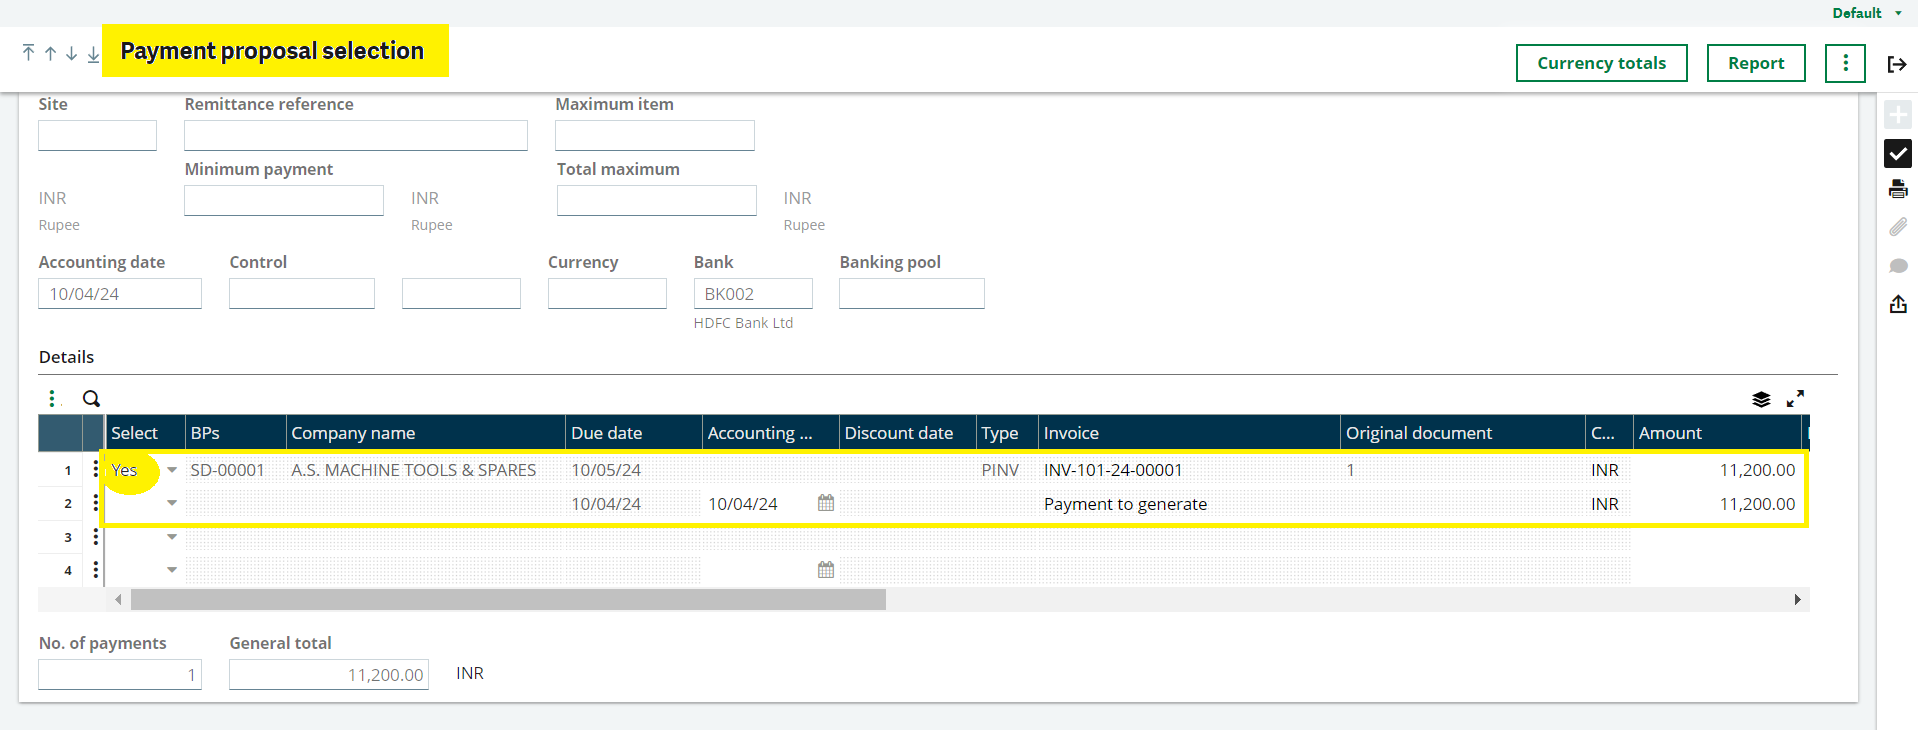
- The below screen will show the open items (Purchase Invoice)
- The user needs to select the Yes/No in the detail line and click on create
- The log reading screen will appear as shown in the below image and it refers the creation of payment proposal along with the ACH entry number
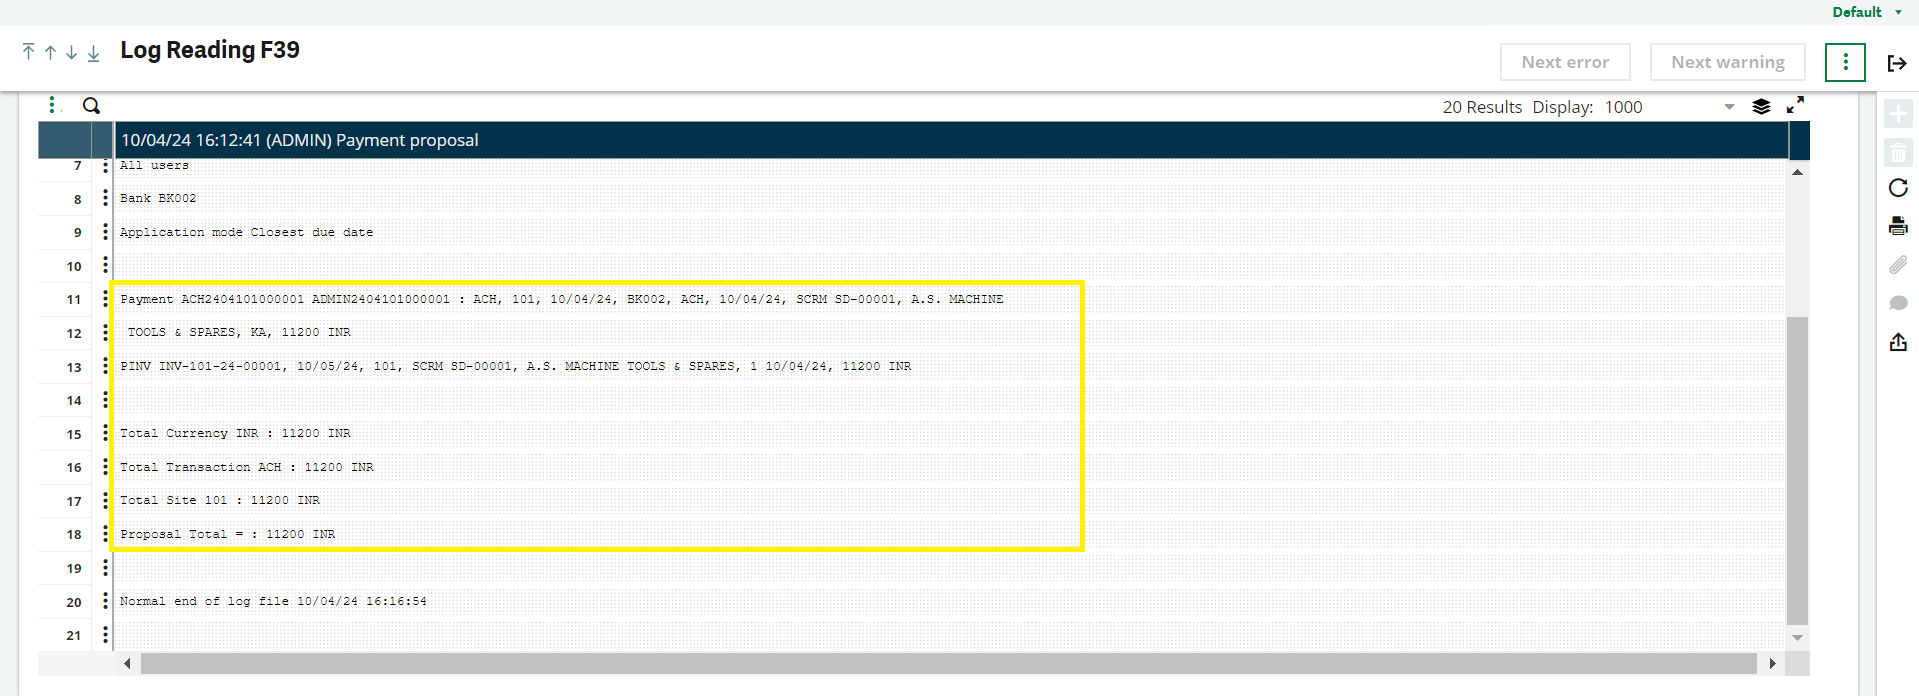
The user can verify the ACH entry number in the AP/AR Accounting à Payment / Receipt Entry à ACH Type
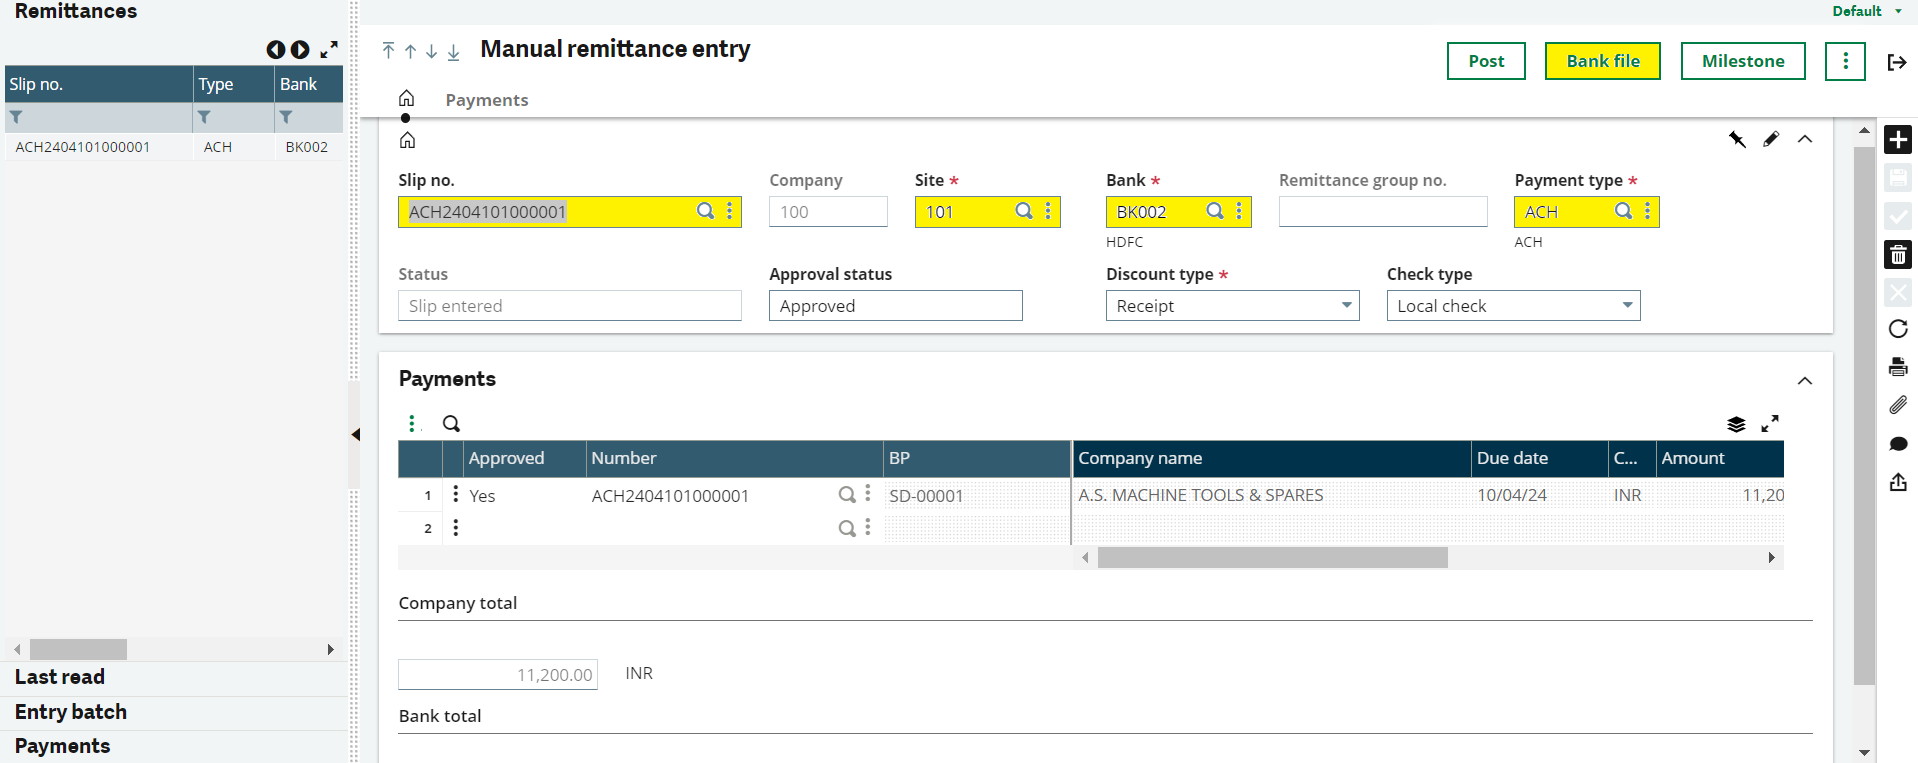
- Now the user needs to go to the Manual Remittance screen
- Click on + Icon
- Create an entry by selecting the “Payments” from the left side grid and select the bank and payment type
- Once the entry got created the user needs to select the “Bank File” as shown in the below image
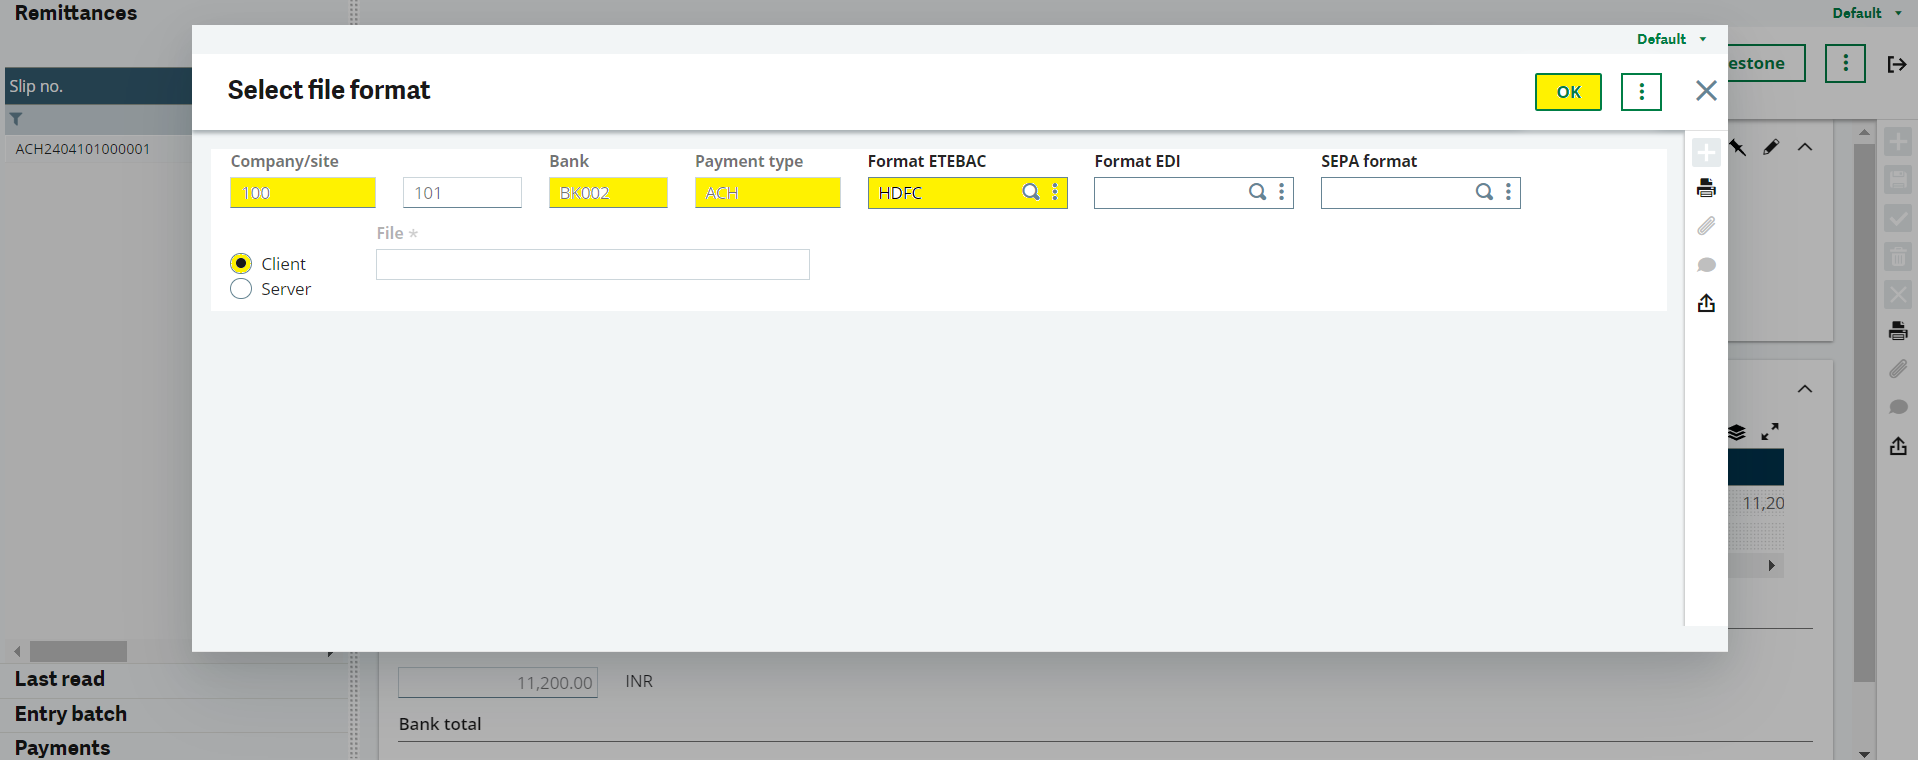
- The File format selection screen will appear
- Select the Format (Which we created in the Bank File Definition) and click on ok
- The Bank File will get downloaded in the txt format